
All guides

How to install

Roller shades

A roller shade goes up in minutes when the brackets are right. Almost every call-back comes from a bracket that was out of level, or a shade forced into an opening it was never going to fit.

Brackets level and square first. The shade only ever hangs as straight as the brackets it sits in.

What arrives

Every shade is labelled with the room it was measured for. Check the label against your schedule before anything comes out of the packaging.

  • The shade, made to your measurements, on its tube
  • A pair of brackets: control end and pin end
  • Bracket covers, on an outside mount
  • Screws for timber
  • Chain stop, on a chain drive
  • Child safety cleat, on a chain drive
  • The top treatment, where one was ordered

[Confirm the exact pack contents against the Skyfall guide before this page goes live.]

What to bring

  • Cordless drill and driver, 3mm bit for pilot holes
  • Pencil and a tape
  • A level, or a laser on a long run
  • Step ladder
  • A second pair of hands on anything wide
  • Fixings to suit masonry or steel
  • Clean gloves for pale fabrics

01

Unpack and check

Unpack away from the window on a clean surface, and never cut into the packaging with a blade. Check the room label, confirm the width against your schedule, and look the fabric over before it goes up. A fault found on the floor is a phone call; the same fault found after fixing is a return trip.

What comes in the box

02

Mark the bracket positions

Hold each bracket where it will sit and mark through the fixing holes. The control end bracket goes on the side the chain, wand or motor was ordered on, and the pin end opposite. Mark both the same distance in from each end, and level them to each other rather than to the frame, which is rarely true.

Mark both brackets level and equal from each end

03

Fix the brackets

Inside mount: the brackets go up into the head of the recess, far enough back that the fabric clears the frame as it rolls.

Outside mount: the brackets go on the wall or architrave above the opening, with the covers slid on before you fix. Pilot-drill anything that might split, and use the right fixing for the substrate.

Inside mount: brackets up into the head
Outside mount: brackets above the opening

04

Fit the shade

Before it goes near the brackets, check the shade is the right way round: the chain should hang evenly from both sides, and the flat face of the drive should be uppermost. Control end into its bracket first, every time, then bring the pin end across and press it home until it clicks. If it will not reach, retract the pin slightly rather than forcing the bracket.

On a motorised shade, support the motor end throughout and keep the tube level. Tilt it down and the motor can slide out of the tube. Two people on anything wide. Fit it with the charging port facing down, so a charge lead can be reached without taking the shade out.

Control end first, then the pin end

05

Check the float

The shade should sit with a small amount of side to side movement. A shade jammed tight between the brackets runs badly and wears the mechanism. No movement at all on an inside mount usually means the opening was measured at its widest point rather than its narrowest.

Leave a little float at each end

06

Fit the chain safety parts

Chain drive only

Lower the shade fully and fit the chain stop just below the drive, so the fabric cannot over-roll. Then fix the cleat to the frame or wall and wind the chain onto it so it is held under light tension.

This is not optional. The cleat is required to meet the child safety standard, and the warning tag stays on the chain.

Chain stop just below the drive
Cleat fixed to the frame, chain held

07

Fit the top treatment

Where one was ordered

A cassette, fascia or raceway goes up before the shade. Fix its brackets level to the architrave or wall, set in roughly [TO CONFIRM] from each end so they land in something solid, and add an extra bracket in the middle on a wide run. The shade brackets are already fitted inside the cassette, so the shade clips straight in once it is up.

A fabric-wrapped cornice fits over the finished installation instead. Keep the top treatment level to the window rather than to the shade, since that is the line the eye reads. Hold the motor end as the shade goes in, and keep it level.

Top treatment first, shade clips in after

08

Test it before you leave

Run the shade fully up and down twice, watching how the fabric tracks on the tube. If it drifts to one side, unroll it and add a strip of tape to the opposite end of the tube, which builds that end up fractionally and straightens the roll.

On a motorised shade, set the limits, pair the remote or hub, and leave the client able to operate it. [Add the Apollo motor limit and pairing steps here once confirmed with Porter Lake.]

Tape the opposite end to correct the roll

Setting up an Apollo motor

Every motorized collection uses the same Apollo motors, so this sequence is the same whatever you are installing. Motors are paired at the factory to the remote supplied with the order, so there is usually nothing to pair on site.

Setting the limits

  1. [TO CONFIRM: how the motor is woken or put into limit-setting mode]
  2. [TO CONFIRM: how the lower limit is set, and how the motor confirms it]
  3. [TO CONFIRM: how the upper limit is set, and how the motor confirms it]
  4. Run the shade fully up and down to check both limits hold.
Pairing a remote or wall switch

  1. [TO CONFIRM: how a new remote or channel is paired]
  2. [TO CONFIRM: how several shades are put on one channel]
  3. Label the channels for the client before you leave.

Adding a hub

  1. [TO CONFIRM: how the hub is put into pairing mode]
  2. [TO CONFIRM: how shades are added to the app]
  3. Check the shades respond from the app, and from the remote, before handing over.

Charging

  1. Charge by USB-C, or fit the solar panel where the window is hard to reach.
  2. [TO CONFIRM: expected battery life and charge time]

[This whole section needs the Apollo sequences from Porter Lake. The structure is right; the steps are placeholders.]

Take it with you

A printed copy in the van beats a phone screen on a ladder.

Download the install sheet

[PDF to be produced once the copy is approved.]

If something is not right

The shade will not click in
Retract the pin end slightly and try again, and always seat the control end first.
The fabric rolls to one side
Tape the opposite end of the tube, a strip at a time, until it tracks straight.
The chain feels tight or binds
On an outside mount, adjust a bracket to leave a little float. On an inside mount, a tight chain usually means the shade is too wide for the opening.
A gap of light at the sides
Normal on an inside mount, since the fabric is narrower than the brackets. A channel closes it, or specify an outside mount next time.
Cleaning
A soft damp cloth, or a vacuum with a brush head. No solvents and no scrubbing.

Stuck on site?

Call your dealer success manager rather than forcing anything. Most of what goes wrong on an install is fixable in a few minutes over the phone.

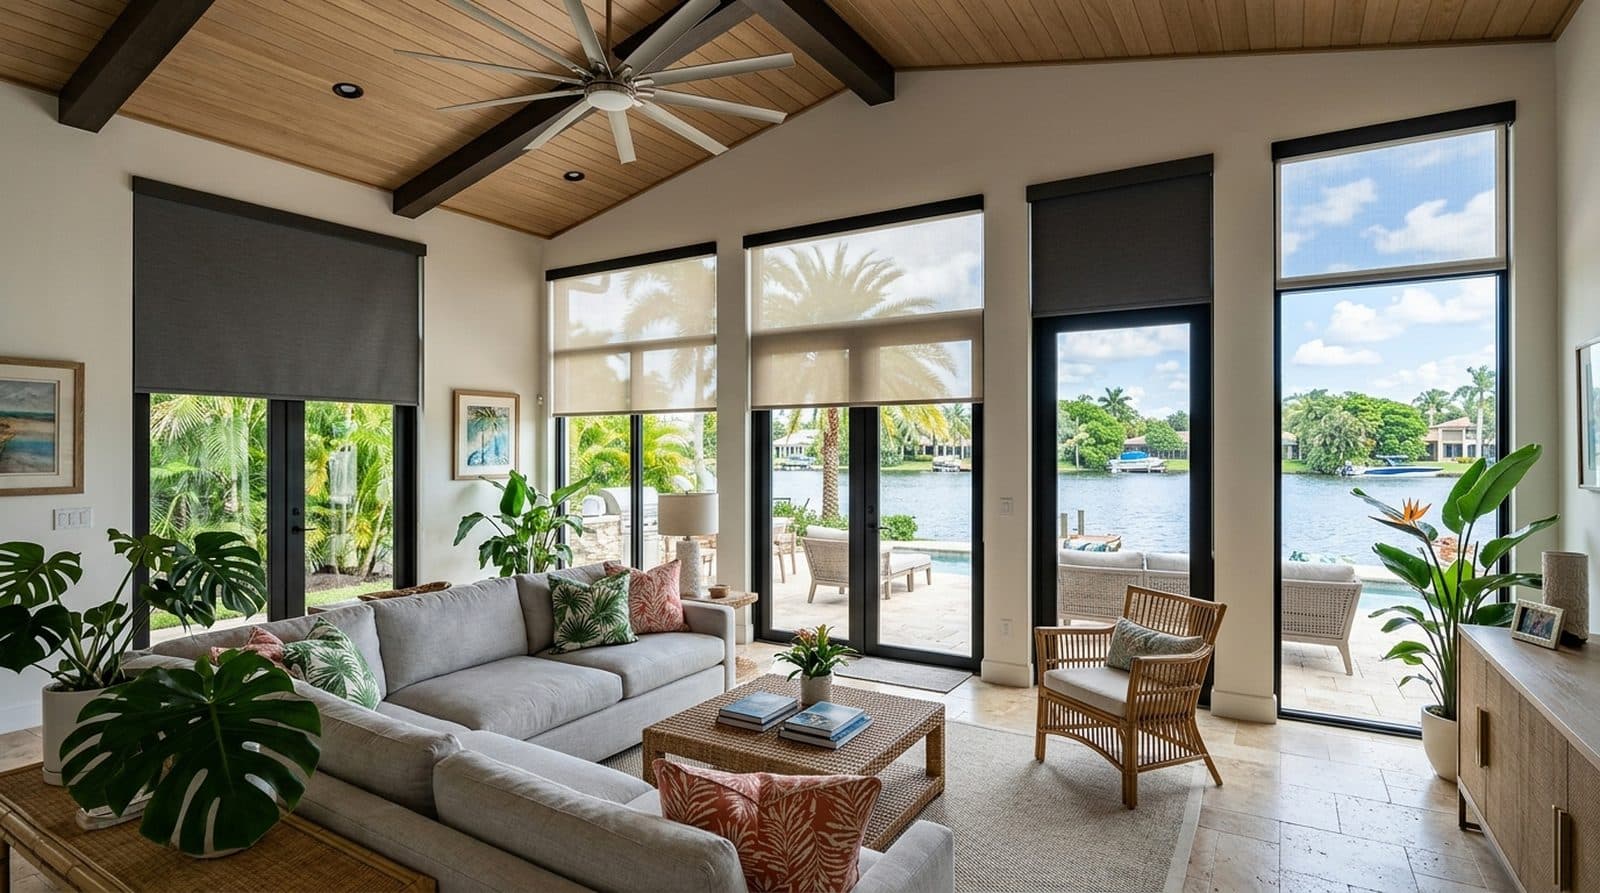
Waterfront living room with roller shades

Interested in becoming a Porter Lake dealer?

Apply today and join our extensive North America dealer network.